A dishwasher that won’t start can usually be traced to a power problem, a door/latch issue, or something interrupting the cycle. Before troubleshooting, make sure the unit is turned off and—if you’re comfortable—disconnect power at the breaker for extra safety.
Check power and basic settings
Confirm the dishwasher is getting electricity. Verify the outlet or circuit breaker hasn’t tripped, and try switching the breaker fully off and back on. If your model has a “Start/Resume” button, press it firmly—some dishwashers won’t begin until the start command is repeated after a pause.
Also check for indicators like “Delay Start” being active. Many units will display a delay timer, preventing the machine from starting immediately even though it appears otherwise “ready.” Cancel the delay and try again.
Inspect the door latch and strike
Most dishwashers require the door t
... Read more »
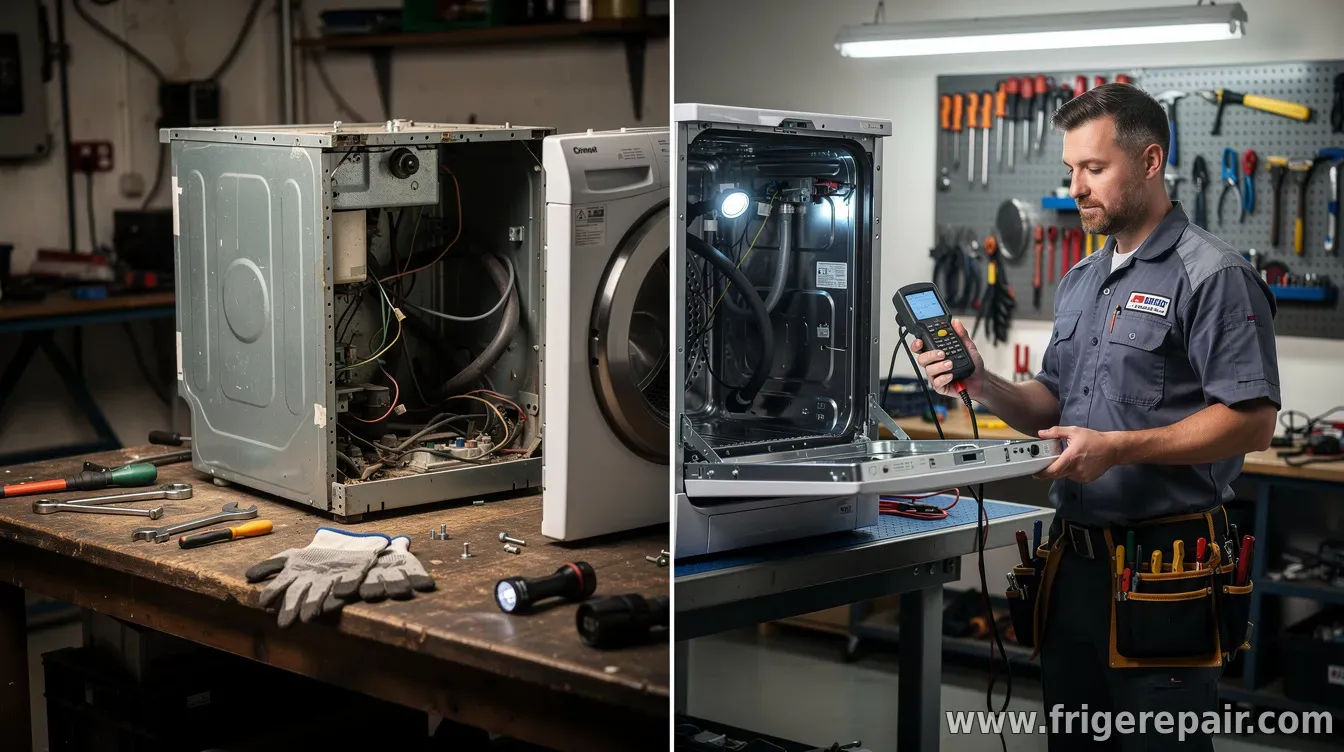
Appliance breakdowns rarely happen at convenient times. When a refrigerator stops cooling, a dryer won’t heat, or a dishwasher starts leaking, the temptation is to “just fix it.” But choosing between DIY repair and professional service can determine both the outcome and the risk involved.
As a rule of thumb, DIY makes sense for small, non-electrical tasks with clear troubleshooting steps. Professional repair is the better option for issues involving wiring, gas or high-voltage components, persistent leaks, repeated failures, or symptoms that could indicate deeper mechanical problems.
DIY is usually fine for simple, low-risk fixes
If the fault is straightforward and doesn’t require opening sealed housings or touching live electrical parts, DIY can save money. Many common fixes fall into this category: cleaning filters and vents, removing clogs, replacing an easily accessible door seal, or swapping a clearly identified (and properly ra
... Read more »
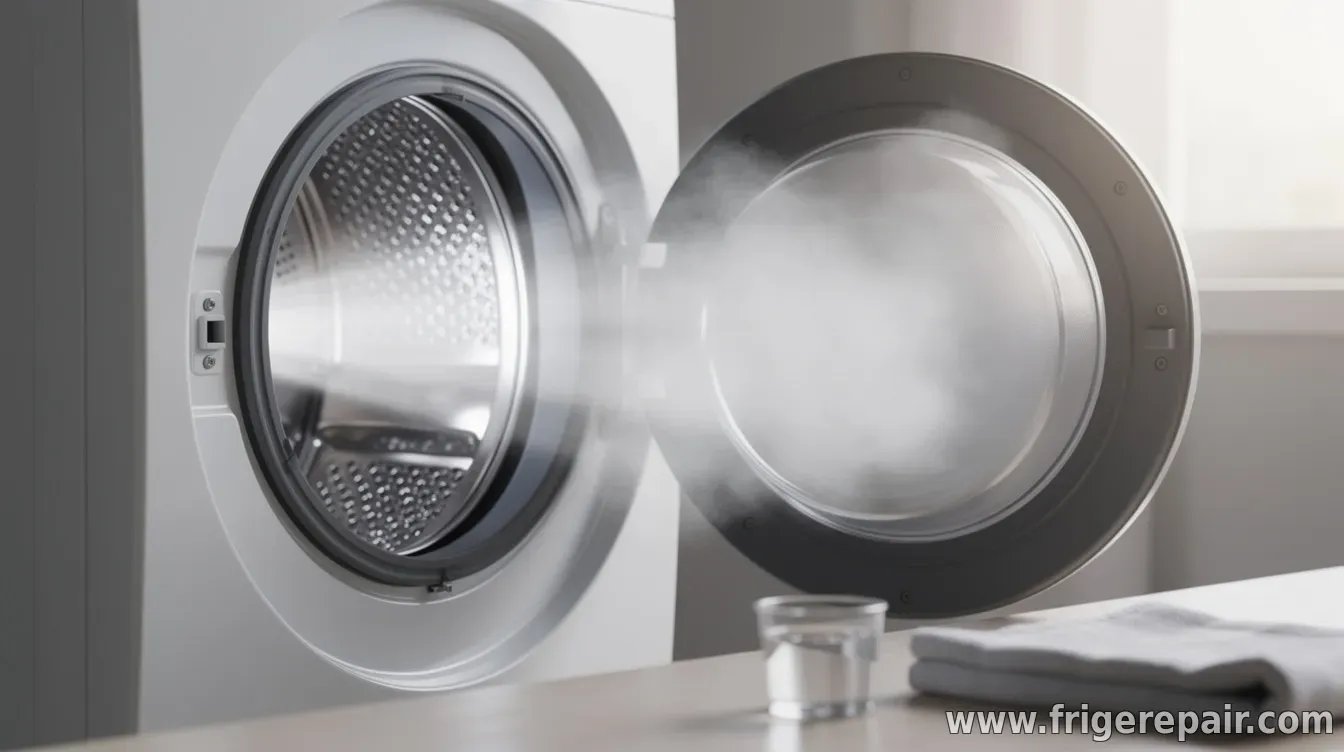
Musty smells in a front-load washer are usually caused by a mix of trapped moisture, detergent buildup, and mildew growth—most often in the rubber door gasket, the detergent drawer, and around the drain path. Even if your clothes come out “clean,” the machine itself may be harboring odor sources.
Start with a quick safety step: run the washer empty and avoid adding clothes during the cleaning process. Ensure the area is ventilated, and if you’re sensitive to strong chemicals, wear gloves and consider using fragrance-free cleaning products.
Step 1: Clean the door gasket and remove visible buildup
Pull back the rubber door seal (gasket) where it meets the door and inspect for black spots or slimy residue. Use a microfiber cloth or an old toothbrush to scrub the folds thoroughly. If needed, dampen the cloth with a small amount of washer-safe cleaner, then wipe dry afterward to reduce lingering moisture.
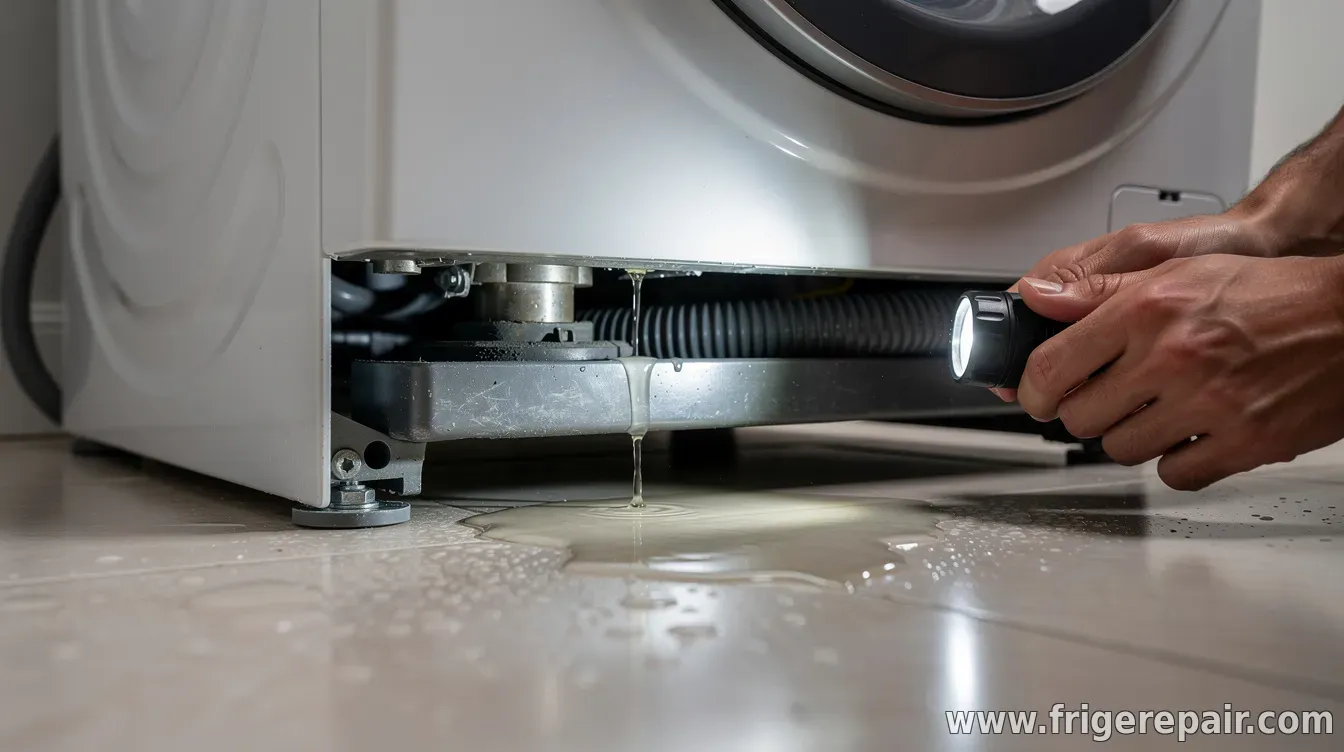
Finding water pooling under your washing machine is stressful, but a bottom leak often points to a small number of repeat offenders: drainage components, inlet hoses, tub seals, or even simple installation problems. The key is to observe when the leak starts (fill, wash, rinse, or drain) and where the water collects.
1) Check the obvious: inlet hoses and connections
Even though the leak is “from the bottom,” it may actually be coming from the water supply lines and running down inside the cabinet. Inspect the hot and cold hoses and their connections for dampness, cracks, or loose fittings. Tighten connections gently (don’t overtighten), and replace any hose showing wear or bulges.
Also confirm the water supply valve is fully open and that water pressure isn’t unusually high, which can worsen small seal failures.