9:55 AM Refrigerator Door Won’t Seal: How to Fix Gasket Issues | |
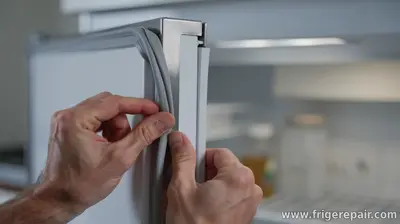
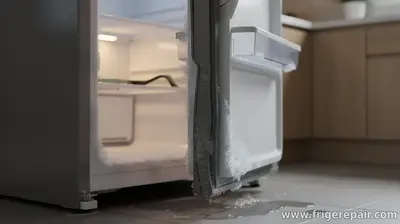
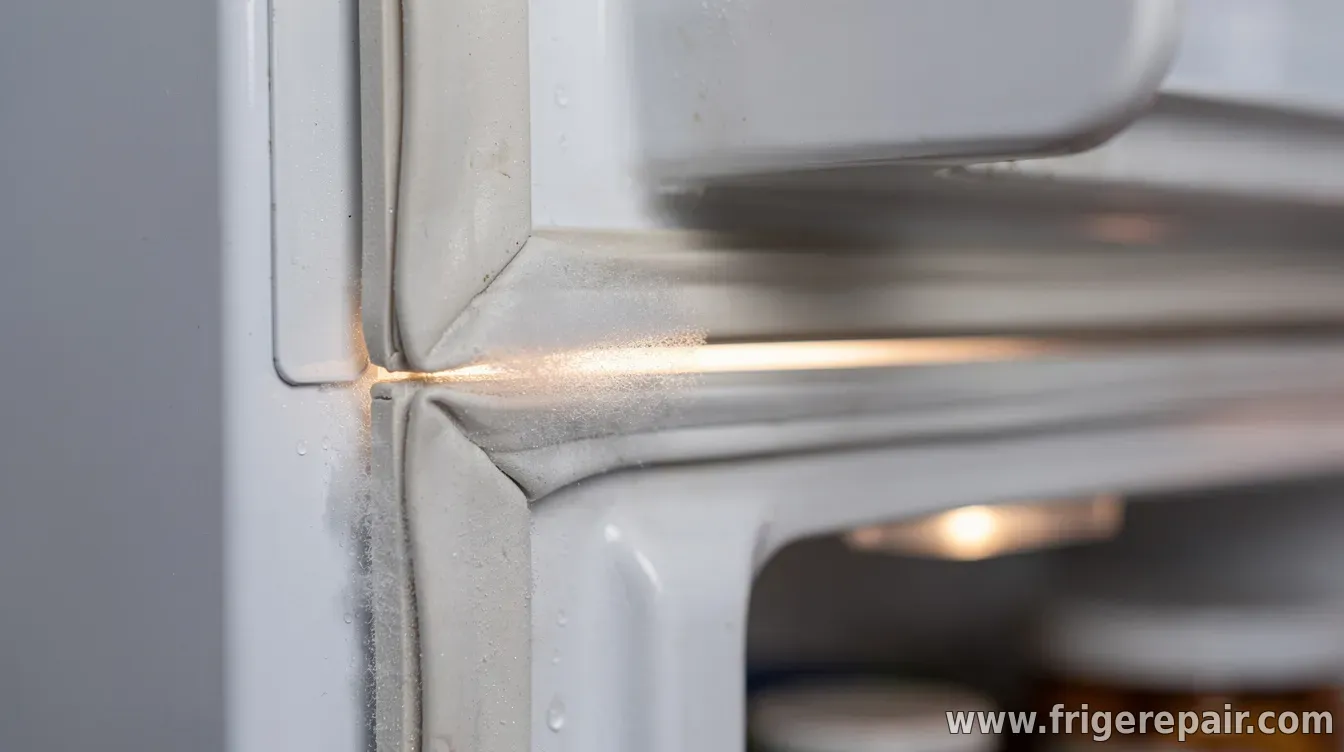 A refrigerator door that won’t close tightly or leaves gaps around the edges can quickly lead to warmer interior temperatures and higher energy bills. In many cases, the culprit is the door gasket—an elastic rubber seal designed to keep cold air inside and prevent warm air from leaking in. Common signs of a failing gasketIf the fridge door seems to “float” open slightly, produces condensation near the hinges, or requires frequent pushing to fully latch, the gasket may not be sealing as intended. Other indicators include uneven frosting inside (especially around the door edges), reduced cooling performance, and a noticeable draft when the door is closed. Why refrigerator gaskets failDoor gaskets typically degrade due to everyday wear and tear. Over time, heat cycles can make rubber less flexible, while food spills and sticky residues can prevent the seal from lying flat. Misalignment can also happen after the fridge is moved, leveled incorrectly, or the hinges are adjusted without checking gasket contact. In some refrigerators, gaskets are affected by debris caught in the seal’s channel or by dents caused by careless loading—both can create small leaks that undermine the seal. How to diagnose the gasket problemStart with a careful visual inspection. Look for cracks, tears, stretches, or flattened sections along the gasket perimeter. Then check for grime: buildup along the inner lip can stop the seal from making full contact. For a simple seal test, close the door on a thin strip of paper or a dollar bill. Move slowly around the perimeter; if the paper slides out easily in certain areas, those spots likely aren’t contacting the cabinet properly. Next, confirm door alignment. Uneven gaps at the top versus the bottom can suggest hinge or leveling issues. If the fridge wobbles, the gasket may never compress evenly, even if it’s in good condition. Cleaning the gasket (often the first fix)If the gasket appears intact, cleaning may restore a good seal. Wipe the rubber with warm, soapy water and then rinse with a damp cloth. Avoid harsh chemicals or abrasive pads that can damage the material. After cleaning, dry thoroughly so the gasket can compress effectively. If there are lingering sticky residues, a mild solution and patient wiping usually works better than aggressive scrubbing. Once clean, retest with the paper strip to see whether the leak points are resolved. Realigning the door and checking levelingIf cleaning doesn’t solve the issue, check whether the refrigerator is level. A small tilt can change how the gasket contacts the frame when the door closes. Adjusting leveling feet (or the rear leveling mechanism on some models) can improve compression across the entire seal. Also inspect hinges and mounting points. If the door is slightly sagging, a hinge adjustment may be needed. After adjustments, verify that the gasket sits evenly and that the door latches without excessive force. When the gasket needs replacementWhen the gasket is cracked, brittle, deformed, or permanently flattened in multiple areas, cleaning and alignment may not be enough. Replacement gaskets are designed to restore the correct rubber thickness and contour for proper compression. To replace the gasket, use the exact part number for your refrigerator model. During installation, ensure the gasket is seated in its channel without twists, and confirm that it compresses evenly when the door latches. Preventing future sealing problemsRegularly wipe the gasket to remove spills and residue, especially around high-use areas like the lower corners. Avoid overstuffing the door compartments, which can pressure the gasket when items protrude. Also keep an eye out for changes in cooling performance or recurring condensation, which can signal the seal is slipping again. | |
|
| |
Next & Previous posts
Related articles: