9:48 AM Washer Leaking From the Bottom: Common Causes & Fixes |
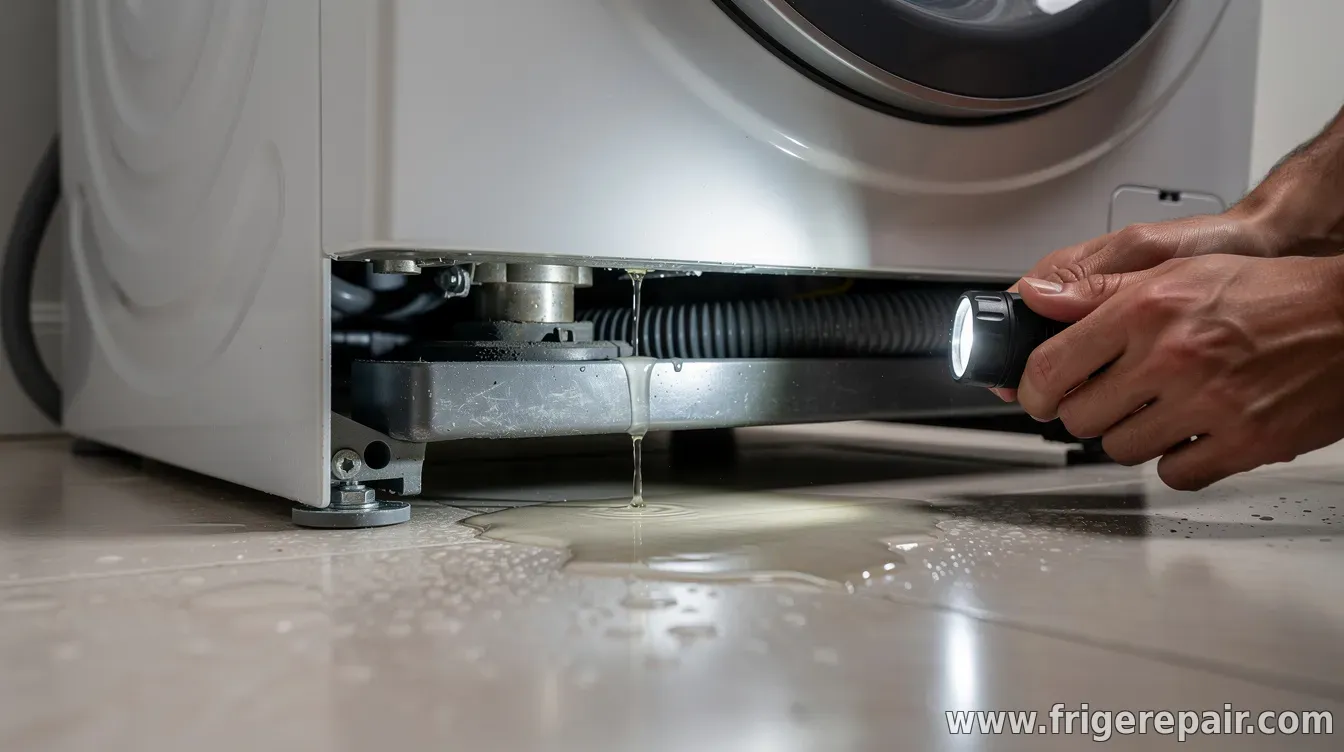 Finding water pooling under your washing machine is stressful, but a bottom leak often points to a small number of repeat offenders: drainage components, inlet hoses, tub seals, or even simple installation problems. The key is to observe when the leak starts (fill, wash, rinse, or drain) and where the water collects. 1) Check the obvious: inlet hoses and connectionsEven though the leak is “from the bottom,” it may actually be coming from the water supply lines and running down inside the cabinet. Inspect the hot and cold hoses and their connections for dampness, cracks, or loose fittings. Tighten connections gently (don’t overtighten), and replace any hose showing wear or bulges. Also confirm the water supply valve is fully open and that water pressure isn’t unusually high, which can worsen small seal failures. 2) Identify whether it happens during drainingIf the leak starts when the washer is draining or near the end of a cycle, the problem is commonly related to the drain hose or the internal drain pump/filter area. Look for wetness near the standpipe connection (where the drain hose enters the plumbing) and ensure the hose is routed correctly and secured. On some models, clogged filters or pump issues cause water to back up and escape near the pump housing. 3) Look for tub or door seal failures (front-load especially)Front-load washers are more likely to leak due to door gasket or seal problems. Check the rubber gasket for tears, warping, or debris lodged in the creases. If water is present around the door area, it can travel down and appear to originate from the bottom. For top-load washers, inspect the lid area and the underside of the outer tub for signs of water tracking from seals or the wash mechanism. 4) Consider the tub seal, drain pump, or an internal crackIf the leak persists across multiple cycle stages (fill, wash, and drain), it may be internal—such as a failing tub-to-drain seal, a worn drain pump seal, or a crack in the tub or housing. These issues often require partial disassembly, and the safest next step is to consult the washer’s service manual or a qualified technician. 5) Don’t overlook leveling, overloading, and detergent useSome “bottom leaks” are caused by overflow or excess suds rather than broken parts. Make sure the washer is leveled (wobbling can stress seals), and avoid overloading. Use the correct amount of high-efficiency (HE) detergent when required—too many suds can lead to water escaping through places it normally wouldn’t. Also check for blocked vents in the drain line or plumbing that causes slow drainage and higher internal water levels. Quick safety steps before troubleshooting:
When to call a repair technician: If the leak appears internal (tub/pump area), if you suspect a cracked tub, or if tightening hoses and correcting drainage routing doesn’t resolve it, professional diagnosis can prevent further damage. To narrow it down fastest, note: does the leak start during fill, agitation, or drain? What exact model do you have (front-load or top-load)? Those details help determine whether you’re dealing with a hose/connection issue, a gasket failure, or an internal pump/seal problem. |
|
|
Next & Previous posts
Related articles: