
9:58 AM How to Clean Your Dryer Vent and Prevent Fire Hazards |
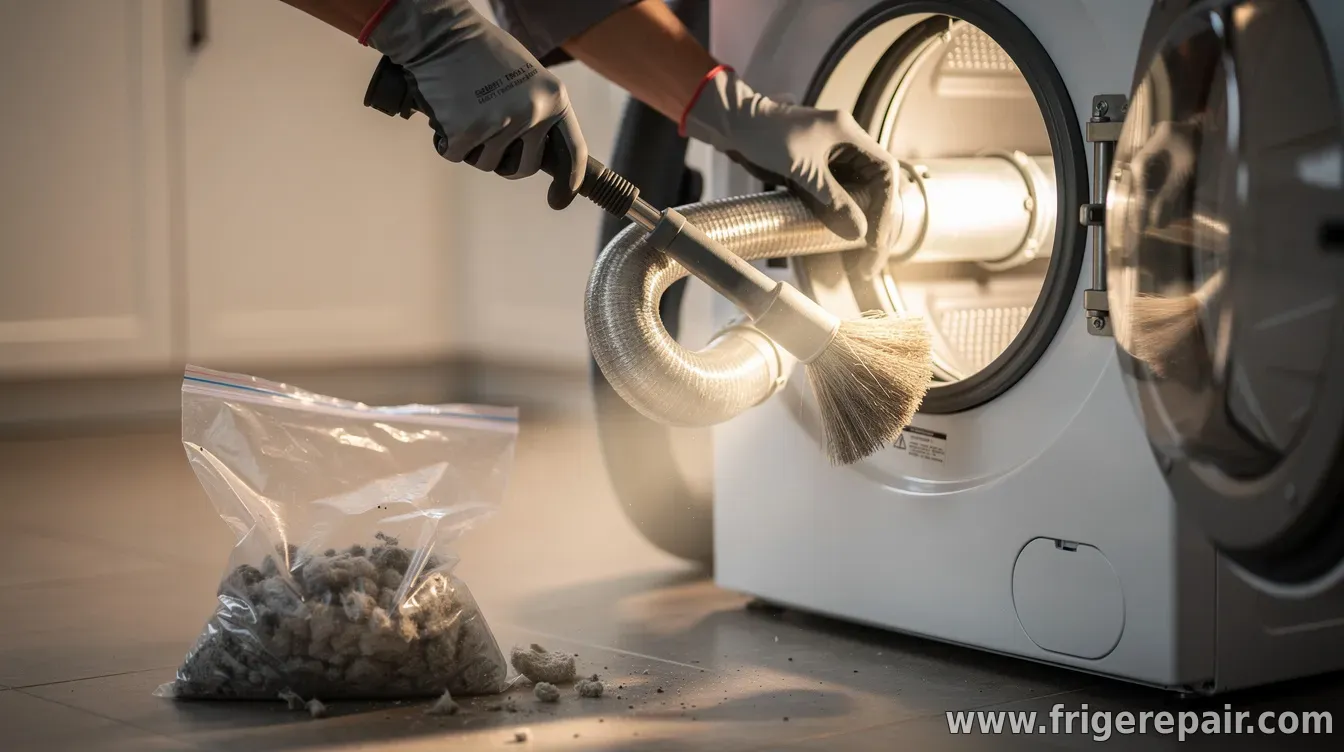 Dryer vents can collect lint over time, forming a barrier that traps heat and slows airflow. When vents don’t vent properly, dryers work harder, dry cycles can take longer, and the risk of overheating rises—sometimes with serious consequences. Regular cleaning is one of the most effective steps homeowners can take to improve safety. Below is a straightforward approach to cleaning a dryer vent and reducing fire hazards. If you notice significant damage, persistent airflow problems, or heavy lint buildup behind the dryer, consider hiring a licensed professional for inspection and service. Why dryer vent cleaning mattersAs clothes tumble, lint sheds and travels through the dryer. A clogged vent prevents hot, moist air from exiting efficiently, which can increase operating temperatures inside the dryer and at vent connections. Over time, lint accumulation can also block the vent path, leading to poor performance and greater strain on dryer components. Seasonal changes and heavier loads can make the issue worse. The U.S. fire safety community consistently emphasizes that dryer lint buildup is a key contributor to home dryer-related fires, especially when vents are not maintained. What to look for before you startBefore cleaning, watch for warning signs that suggest airflow problems. These include clothes that stay damp after a typical cycle, a burning smell, unusually hot dryer exterior surfaces, longer drying times, or visible lint around the outside vent flap. If you see these issues, cleaning the vent system is urgent—especially if the dryer has been running for many years without routine maintenance. It’s also important to verify vent type and condition. Confirm whether your dryer exhaust uses rigid metal ducting (typically best for airflow) or flexible plastic/foil ducting (which can sag and trap lint). Check for crushed sections or gaps at joints, which can leak lint and reduce performance. Tools and safe prepStart by unplugging the dryer or turning off the gas supply and switching off the relevant breaker, depending on whether the unit is electric or gas. Gather a flashlight, a screwdriver or wrench (if you need to loosen the vent clamp), protective gloves, a vacuum with a hose attachment, and a dryer vent cleaning brush kit or vent cleaning rods sized for your duct. If you have long duct runs or multiple bends, a kit with extension rods can help reach deeper into the vent. Avoid substituting random brushes that don’t fit the duct diameter, since poor fit can leave lint behind or damage duct surfaces. Step-by-step: cleaning the dryer ventFirst, pull the dryer away from the wall carefully to access the exhaust connection. If the duct is connected with a clamp, loosen it and detach the duct from the dryer. Use a vacuum to remove lint from the dryer’s exhaust outlet and from the first section of duct you can reach. Next, clean the vent duct from the dryer side or from the exterior side—whichever gives you better access. Insert the vent brush and work it through the duct in sections, rotating the brush as you move to dislodge packed lint. Pair the brushing with vacuum suction whenever possible to reduce airborne lint. For the exterior vent, remove any visible buildup around the vent hood and clear the lint that collects near the opening. Ensure the flap opens freely and closes properly when the dryer is operating. A stuck flap can trap lint and restrict airflow, so cleaning around the hood is a key part of the process. Once brushing is complete, vacuum again thoroughly at both the dryer connection and the exterior vent area. Reattach the duct using proper clamps and confirm there are no gaps or sagging sections. A secure connection matters because even small leaks can allow lint to escape into hidden spaces. How often should you clean?A practical rule is to clean the vent at least once a year, and more frequently if you do heavy laundry, use the dryer several times per week, or notice symptoms such as longer drying times. Some households may need twice-yearly cleaning depending on usage patterns and duct length. Additionally, keep dryer lint traps clean after every load. While the lint screen is not a substitute for vent cleaning, maintaining it helps preserve airflow and reduces the volume of lint that travels into the duct system. When to call a professionalIf your ducting is severely clogged, the duct is damaged, you suspect a vent run with hidden obstructions, or you cannot fully remove the buildup, professional dryer vent cleaning may be the safest option. Technicians can also verify airflow, check duct integrity, and handle situations where vent sections cannot be accessed easily. Consider professional service if you find signs of overheating, persistent burning odors, or scorch marks around the dryer outlet or vent connection. Those indicators can point to deeper airflow restrictions or electrical/mechanical issues that go beyond a routine cleaning. Preventing future fire hazardsAfter cleaning, reduce the chance of new buildup by ensuring ducts are properly routed with minimal bends, avoiding extended lengths of flexible ducting that can sag, and using rigid metal duct where possible. Keep the area around the dryer clear, and ensure the exterior vent is not blocked by landscaping, debris, or insect screens that restrict airflow. Finally, treat dryer performance changes as a safety signal. If drying times increase or the exterior vent airflow weakens, clean the system again sooner rather than waiting for the next scheduled maintenance. |
|
|
Next & Previous posts