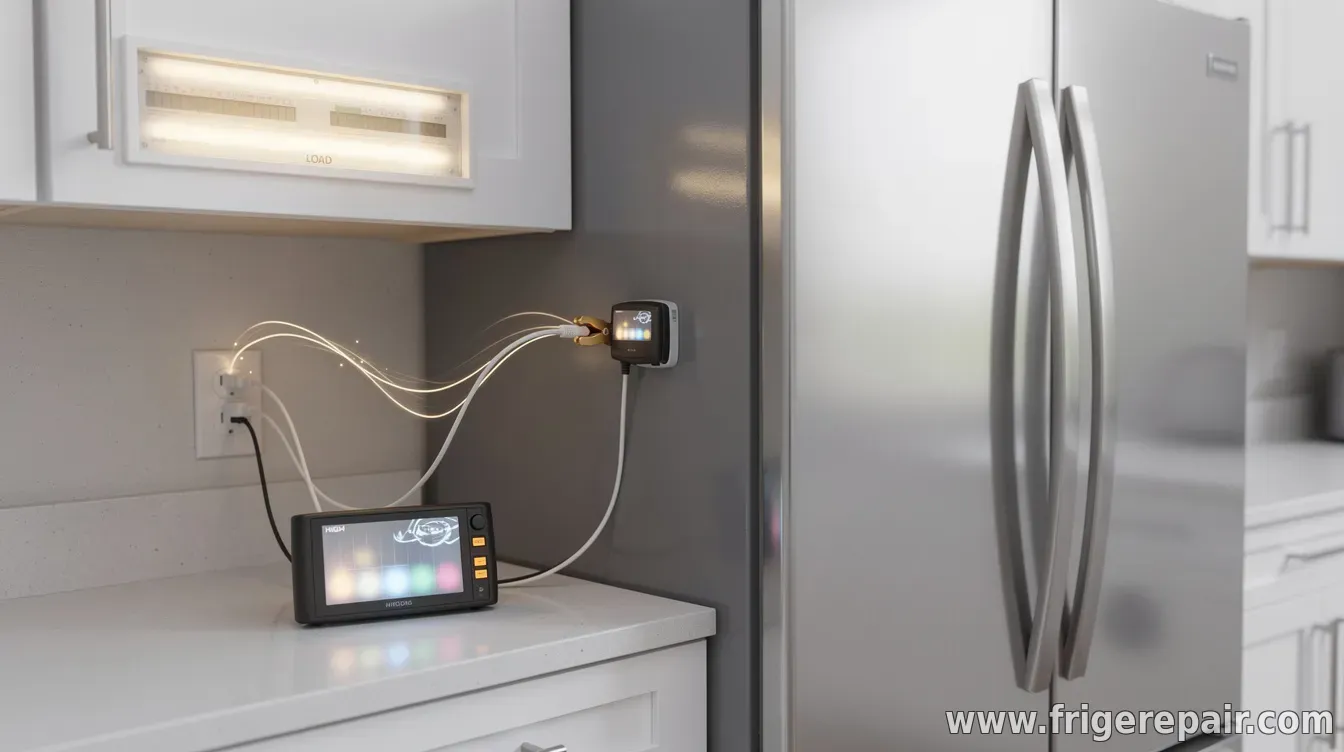
A sudden jump in electricity usage often has a simple cause, and a refrigerator is one of the first appliances to investigate. Because it runs continuously, even small problems—like a door that doesn’t seal, dirty coils, or incorrect temperature settings—can translate into noticeably higher kWh over time.
Below is a straightforward way to check whether your refrigerator is using too much electricity, plus the most common signs and fixes.
1) Do a quick “sanity check” on behavior and settings
Before measuring anything, confirm the refrigerator is actually operating normally. Make sure the temperature controls are set to the recommended range (often around 37–40°F / 3–4°C for the fridge and 0–5°F / -18 to -15°C for the freezer, depending on the model). Also check that the door closes fully and that the gasket (rubber seal) is clean and free of gaps.
If the interior feels warmer than usual,
... Read more »
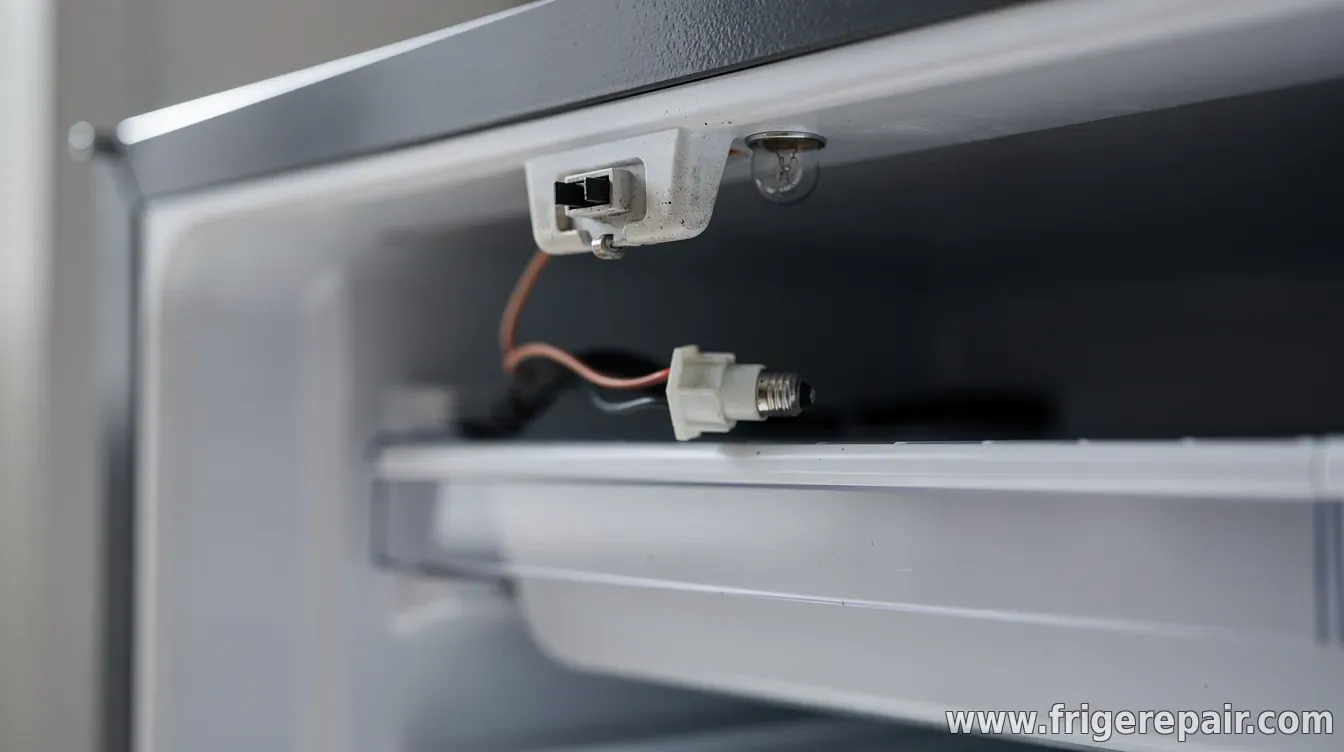
If your refrigerator interior light stays off when you open the door, the issue is commonly small and repairable—ranging from a burnt-out bulb to a faulty door-activated switch. Because refrigerators involve electricity and moving parts, it’s best to troubleshoot methodically and prioritize safety.
Below are the most frequent causes, along with practical checks you can perform to narrow down what’s wrong.
1) Burned-out bulb or incorrect bulb type
The most common reason the light doesn’t come on is a defective bulb. Even if only part of the lighting system works, the bulb may still be failing intermittently. Also confirm the replacement matches the refrigerator’s specified bulb type and wattage, since using the wrong type can prevent proper operation or shorten lifespan.
Typical signs include a completely dark interior or a light that never flickers when the door is opened.
2) Door switch problem (the most frequ
... Read more »
Refrigerator repair warranties can save money, but the value depends on what’s actually covered. Before you schedule service—or agree to pay out of pocket—review the warranty terms for your brand, model, and purchase date, since coverage varies by manufacturer and retailer.
Most warranties fall into two buckets: coverage for parts only, or coverage for parts plus labor. Some plans also include certain “sealed system” components, which are often treated differently from standard wear items.
What parts are commonly covered
Many manufacturer warranties cover repairs for defects in materials or workmanship. In practice, this often includes major functional components such as refrigeration system parts (depending on the warranty type), and may include electronics or cooling-related components. However, coverage typically does not extend indefinitely—term length matters.
A refrigerator is one of the most important (and costly) appliances in a home, so it helps to know what “normal” looks like. While individual units vary, many manufacturers and appliance experts point to a typical lifespan of 10 to 15 years—with some models lasting longer when they’re properly maintained.
That said, longevity isn’t only about age. Temperature stability, ventilation, and how often the door is opened can significantly influence wear on key components like the compressor and cooling system. Understanding the expected timeline makes it easier to plan repairs—or decide when replacement is the smarter option.
Typical refrigerator lifespan: what to expect
In general, a refrigerator that reaches the 12–15 year range may be approaching the “wear-out” phase, especially if it has frequent service needs. Units closer to 10 years can still be fine, b
... Read more »